

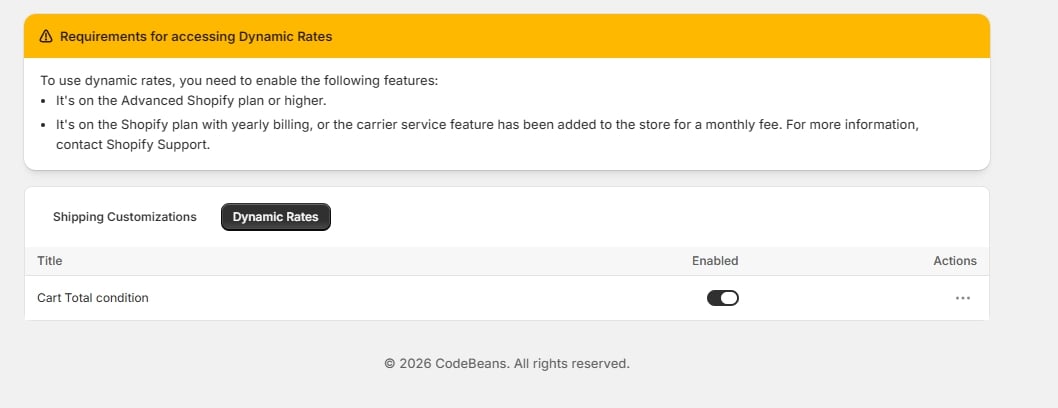
Dynamic Rates tab and requirements banner
Before you start
Dynamic rates require the Ultimate plan — see Choosing a plan. The requirements banner on this tab will tell you if the carrier service hasn’t been registered yet for your store — that has to happen before any dynamic rate can appear at checkout. If it hasn’t, follow the prompt on the banner; the app registers the carrier service automatically.Creating a rate
With no rates configured yet, the tab shows an empty state: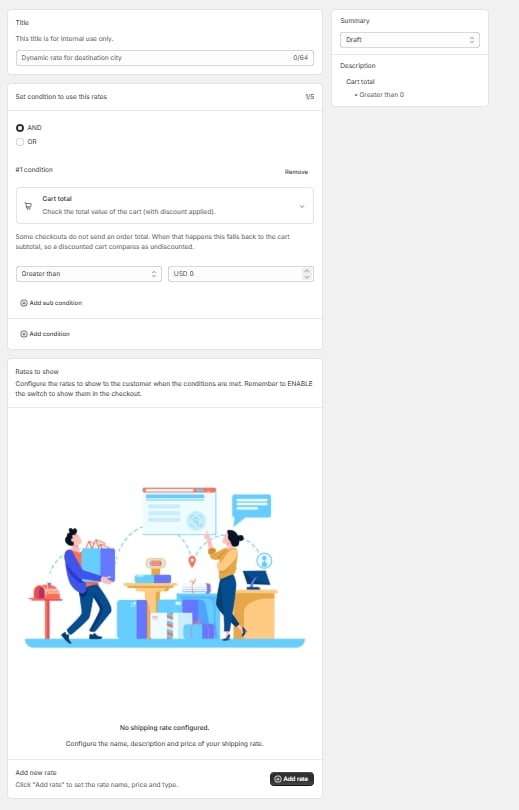
Dynamic rates editor, no rates yet
1. Name it
Give the rule a Title. This is for your own reference — the customer never sees it.2. Set the conditions
Pick a Match type — AND (every condition must be true) or OR (any one is enough) — then add your conditions with Add condition. You can add up to 5 conditions, each with up to 5 sub-conditions. Sub-conditions test the same field more than once, which is how you express a range: “cart total is greater than 50” and “cart total is less than 200” on one condition. Conditions cover the cart, the customer, the destination and origin addresses, individual line items, and the rate’s own currency and locale — 41 in total. See Dynamic rate conditions for the full list and the operators each field accepts. The Summary panel on the right restates the conditions as you build them, and carries the rule’s Active/Draft status: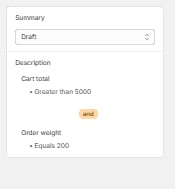
Summary panel — status, and each condition with how it joins the next
3. Add the rates to show
Under Rates to show, use Add rate to set the rate name, price and type. You can choose a Fixed amount or a Percent-based rate, add an optional description, and a live checkout preview shows how the label and price will look to the customer.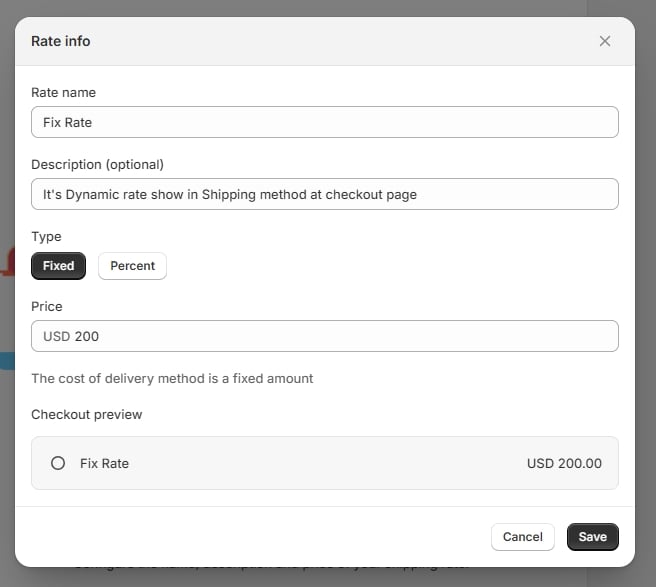
Rate info modal (create) — Fixed/Percent + checkout preview
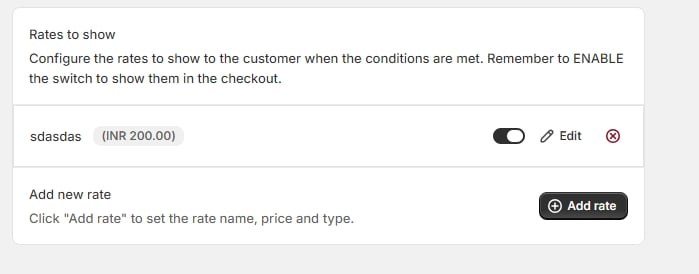
One rate configured and enabled
Editing a rate
Reopen a rate from its row to change the amount, type, or label.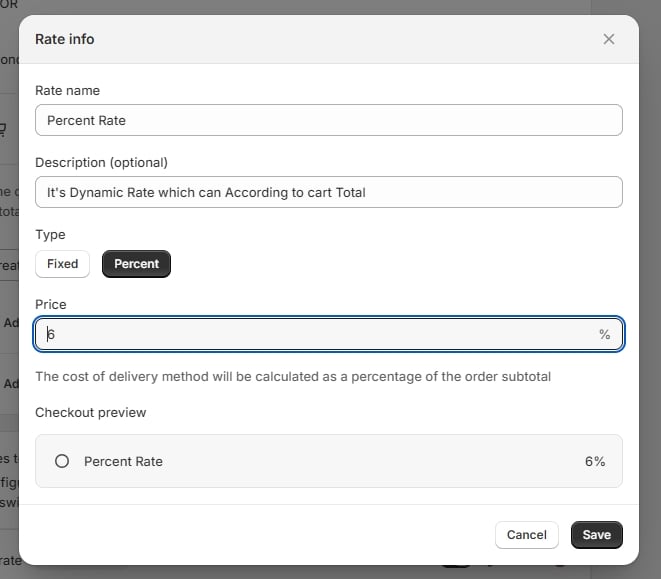
Edit rate modal — editing an existing rate
Multiple rates
You can configure more than one dynamic rate — for example, a fixed-price option alongside a percent-based one — and the carrier service will return every enabled rate whose conditions match.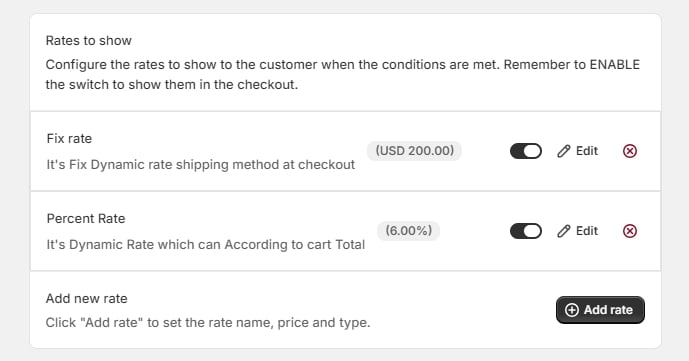
Two rates — fixed and percent
Dynamic rates are stored as shop metafields and evaluated at request time by the
/api/getshippingrates carrier service callback — they don’t go through the same delivery-customization pipeline as Simple, Advanced, or the organizer rule types.Shopify gives a carrier service a few seconds to answer before it drops the rates from checkout. The app works within that limit, so a very large catalog or a long condition list can occasionally mean a quote doesn’t make it in time. If rates appear intermittently, simplifying the conditions usually settles it.